
Preparing your card
Prepare your card by cutting out a 26 x 19cm piece of cardstock...choose a colour that will go well with your chosen 3D picture. Fold carefully down the middle of your card and score the fold to create the basic card on which you will build your 3D picture.
Assembling your picture
Once you have all the pieces of your selected design cut out (see Part 1), you can start by gluing the largest (full picture) design to the front of your prepared card.

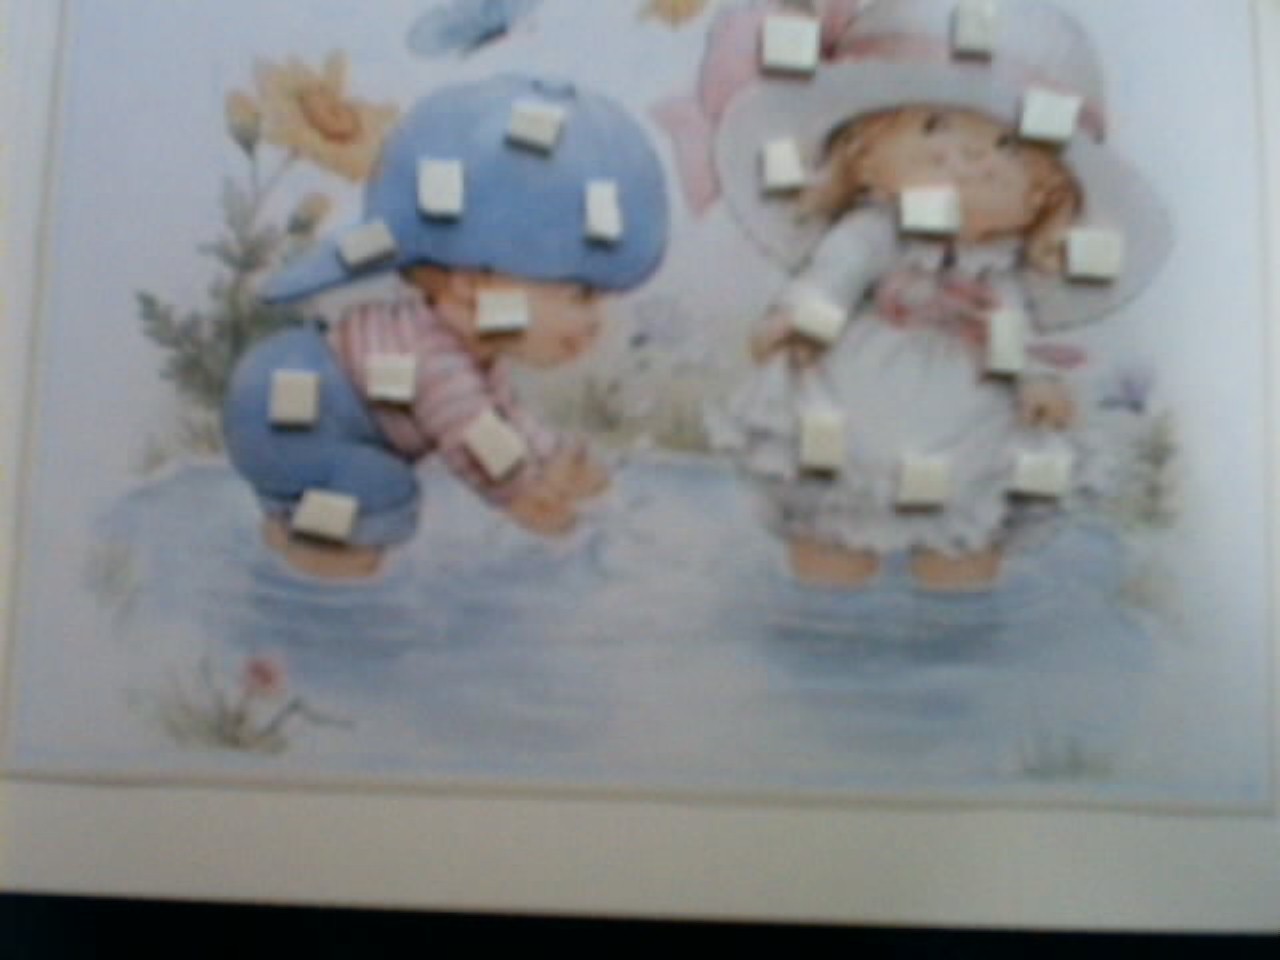
Do not place the form pads too close to the edge of the picture. Peel off the paper from each pad and place your next picture carefully in place.
You will notice that each consecutive cut-out has part of the previous picture missing and the more pieces you add, the smaller they are – this is of course how the 3D effect is achieved. Keep layering your design until you have assembled the complete project.
Finishing Touches
You can achieve a more rounded and natural effect, for example when making petals, by curling the edges of the top layer (using a shaping tool, the back of your scissors or your fingers) before assembling your project. Wherever you notice white edges, you can cover these by rubbing the edge with a pencil, this way you will achieve a grey outline effect which will eliminate the harshness of the white edges. You could also varnish the finished project with a matt or glossy decoupage finish (you can buy this from a hobby store). This is ideal if you are framing the design. Some papers already have a glossy finish.
Here is the finished card, I'm afraid I had taken this some time ago and my camera was not what I use now so it is not very clear but it gives you an idea. I also used silver cerne relief (outliner) to outline the picture and create a framed effect.

Sorry for the font size and mix in fonts, don't know what went wrong but it did not look like this when I got the post ready for posting!!!


Thanks for the very interesting and useful instructions, I hope to try it very soon.
ReplyDeleteHugs,
Sue.
Thanks for your comments Sue, I do hope you will try this rewarding craft. If you don't find the sticky peel offs, let me know and I will send you some : )
ReplyDeleteHugs,
Doreen
That's so pretty. Something I would like to try if I ever have some free time on my hands.
ReplyDeleteThanks Loree, I can assure you it's very relaxing and rewarding : )
ReplyDelete