Saturday, April 7, 2012
Friday, April 6, 2012
Beaded Crosses for Easter
Here is what I have been busy with these past few days...I made these beaded Crosses for Easter to give to my family and friends. Thanks Cathy in Mt for the lovely beads you sent me recently. I also used some shimmering ribbon which my future Daughter-in-law had given me : )
I made these crosses using this pattern. However I altered the tops and tails as instead of the lanyard as a holder, I just made a knot in the ribbon to create a simple circle. The bottom I tied with one Uni knot similar to this method but again I adjusted this to suit my project according to the ribbon I used and added a small tassel to finish it off.
These are great tokens to give to friends, workmates, children in Catechism classes or even made for fund-raising.
In case anyone wants to try making these crosses, I started off with a length of about 90cm. of ribbon. To finish off the tassel tie an extra piece of ribbon, fold in two and tie to the 2 ends to create a tassel with 4 pieces. Maybe the instructions are not too clear but I finished these off in the best way according to how my work proceeded so maybe you will find another way to finish off yours. Have fun trying these out! God bless!
Sunday, April 1, 2012
Roasted and Spiced Almonds *

I wanted to make a low fat, no cholesterol, sugar-free snack/appetizer with the bag of almonds I bought this week and found some healthy recipes on line which I adjusted since we are on a low sodium diet so here I am sharing my 'adjusted' recipe with you...
Preparation:
- Preheat oven to 350 °
- In a medium baking dish place 200 grms almonds spread evenly and bake for 8-10 minutes until almonds are toasted, stirring twice.
- Let cool.
- In a skillet over a medium to high heat, pour 1 1/2 tablespoons extra virgin olive oil, 1/2 teaspoon each of cumin, coriander and cinnamon powders, 1/4 teaspoon freshly ground black pepper and a dash of salt (I put very little salt),
- Stir over high heat until well blended, then add the roasted almonds tossing to coat well. Stir for a few minutes. Take off heat. Let cool for a few minutes. Then scoop up the almonds and place on a tray lined with paper towels to absorb the extra oil. Pat the almonds, replacing the towels if necessary.
- Place in a bowl and when totally cool, store in an airtight container for up to 5 days.
You could, if you like, prepare the almonds by coating in the combined spice mixture and olive oil and bake directly in the oven for about 10-12 minutes but I prefer to pre-roast the almonds and then toss them over into the skillet as I think this gives them a better cooking time and a richer flavour and lovely crunch!
* 1 Tablespoon serving (about 15 almonds) contains about 80 calories.
So if you're nuts about nuts and want to make sure you are getting your "handful" this is one way to do it! It is recommended that we eat up to 1.5 ounces of nuts daily or one and a half times a "handful" unless, of course, you are allergic to nuts!
This is also a lovely Easter treat especially for adults while the kids are enjoying their Easter Hunt!
Enjoy!
Thursday, February 23, 2012
♥ LENT ♥

Yesterday Ash Wednesday marked the beginning of the season of Lent. It is a time of reflection, prayer and sacrifice...it is a time for change. But change comes at a cost and that is what we pay when we try to change our old ways and try to make ourselves better persons. In doing so we are changing the world.
― Mahatma Gandhi
“Everyone thinks of changing the world, but no one thinks of changing himself.”
― Leo Tolstoy

Rather than just giving up chocolate, we can use the money saved on candy and sweets to buy a box of chocolates to give to a needy family at Easter. We can put that box, or buy some groceries with that money, to donate to the community hampers that parishes give out during special seasonal celebrations as a sign of solidarity to needy families.
How about thinking of doing one act of generosity or kindness every day? It does not need to be anything that takes up too much of our time or even cost anything. Here are a few ideas...

- Say something nice about someone behind their back.
- Give someone a compliment or word of encouragement/praise when they least expect it.
- Have an early spring clean (one closet, cupboard or drawer at a time) and donate some items to a charity shop, animal shelter, parish bazaar...you might even find something that you borrowed, now is a good time to return it!
- Think or write a list of things you would like to say sorry for and work on a reconciliation...it could be an overdue 'sorry'!
- Give up your place in a queue to someone else.
- Offer to babysit for someone who needs that time for errands or even to go to the hairdresser.
While we are cleaning up, taking stock of our lives, thinking of others, we can also consider this as a period of a personal spiritual 'cleansing' as we prepare for Easter.
If we are a little more creative by putting some more thought into how we are sacrificing and reaching out to others, it can make our Lent more meaningful.

Tuesday, February 14, 2012
The Greatest Love of all ~ A Valentine from God!

and have finally found it. I did not design it myself but it was sent
to me by a friend and I've had it in my files for years.
Enjoy!
Last year I also posted a similar bookmark,
click here to see it.
♥
♥ Happy St.Valentine's Day ♥
I will not go into the history of how Valentine's Day evolved, I'm sure you can get all the details by doing a search but I will share with you one particular legend which happens to be my favourite.
There was one particular Valentine who was imprisoned and who actually sent the first "valentine" greeting himself after he fell in love with a young girl, possibly the jailor's daughter, who visited him during his confinement. Before his death, he wrote her a letter signed "From your Valentine," an expression that is still in use today.
Although the truth behind the 'Valentine' legends is quite confusing, the stories all emphasize his appeal as a sympathetic, heroic and, most importantly, romantic figure. And so we have Valentine's Day, a particular day in which we send cards to our beloved and dear ones.
Unfortunately, the day is too commercialised as are other feasts which causes unnecessary pressure. My motto is to show your loved ones that you love them every day by making every day special, by making every day count, by appreciating each other more.
To end I would also like to share some quotes I found today...
We are each of us angels with only one wing, and we can only fly by embracing one another.
Lucretius
A kiss is a lovely trick designed by nature to stop speech when words become superfluous.
Ingrid Bergman
All you need is love. But a little chocolate now and then doesn't hurt.
Charles M. Schulz
Mmmmm, I love the last one ☺
Monday, January 23, 2012
Making a 3D Decoupage card ~ Part 2
Preparing your card
Prepare your card by cutting out a 26 x 19cm piece of cardstock...choose a colour that will go well with your chosen 3D picture. Fold carefully down the middle of your card and score the fold to create the basic card on which you will build your 3D picture.
Assembling your picture
Once you have all the pieces of your selected design cut out (see Part 1), you can start by gluing the largest (full picture) design to the front of your prepared card.
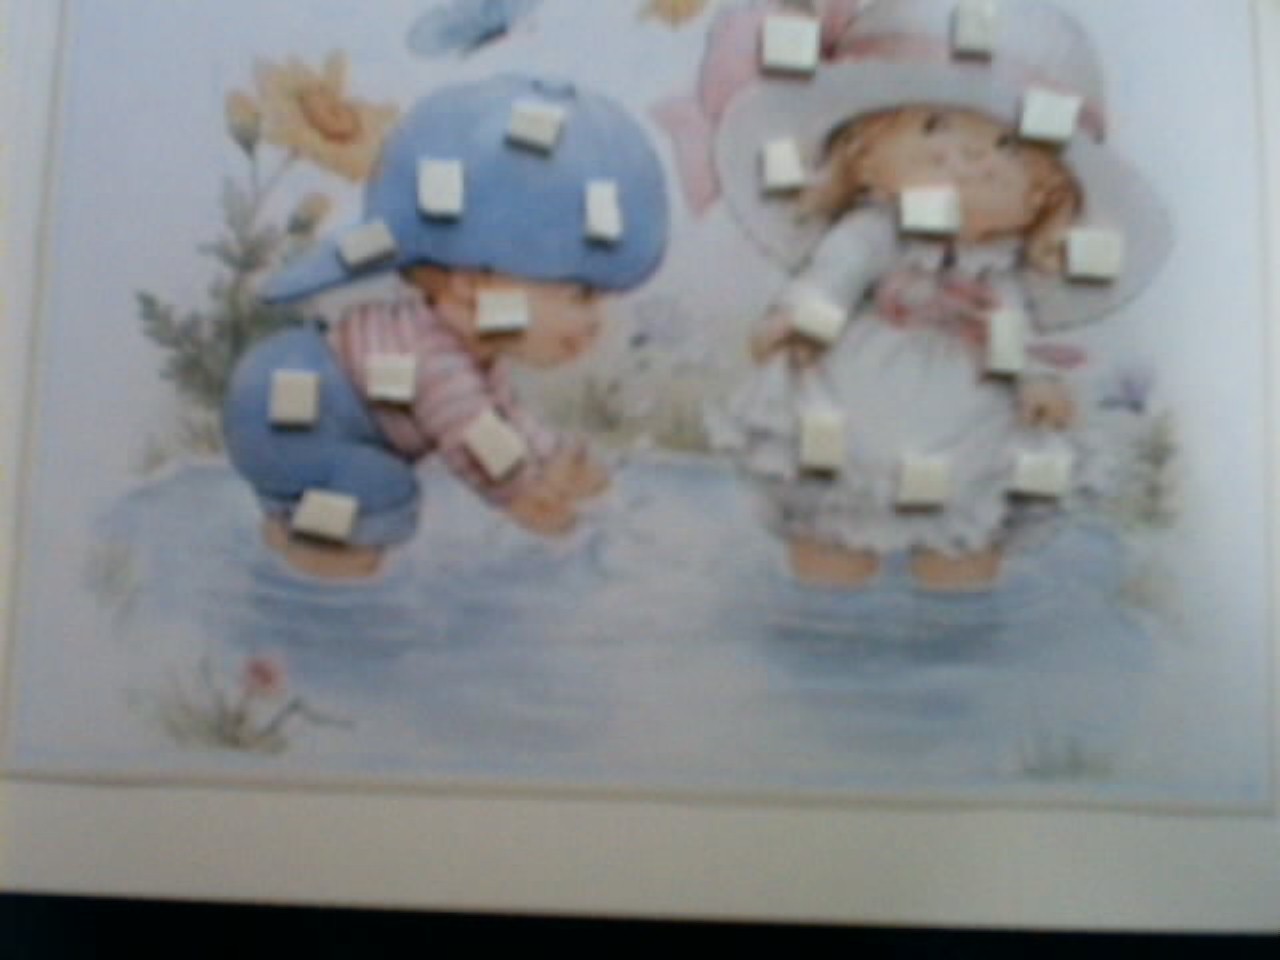
Do not place the form pads too close to the edge of the picture. Peel off the paper from each pad and place your next picture carefully in place.
You will notice that each consecutive cut-out has part of the previous picture missing and the more pieces you add, the smaller they are – this is of course how the 3D effect is achieved. Keep layering your design until you have assembled the complete project.
Finishing Touches
You can achieve a more rounded and natural effect, for example when making petals, by curling the edges of the top layer (using a shaping tool, the back of your scissors or your fingers) before assembling your project. Wherever you notice white edges, you can cover these by rubbing the edge with a pencil, this way you will achieve a grey outline effect which will eliminate the harshness of the white edges. You could also varnish the finished project with a matt or glossy decoupage finish (you can buy this from a hobby store). This is ideal if you are framing the design. Some papers already have a glossy finish.
Here is the finished card, I'm afraid I had taken this some time ago and my camera was not what I use now so it is not very clear but it gives you an idea. I also used silver cerne relief (outliner) to outline the picture and create a framed effect.
Sorry for the font size and mix in fonts, don't know what went wrong but it did not look like this when I got the post ready for posting!!!